Description of Project
For our last assignment in 2D Art for Games, we were to put together a final illustration of a character inside of an environment. Not only that, but we had to present all of our work done to produce said illustration - concept sketches, thumbnails, and research images. It was a bit of a hefty task to do in a week, but thankfully, I prioritized my available time and finished it without (much) stress.
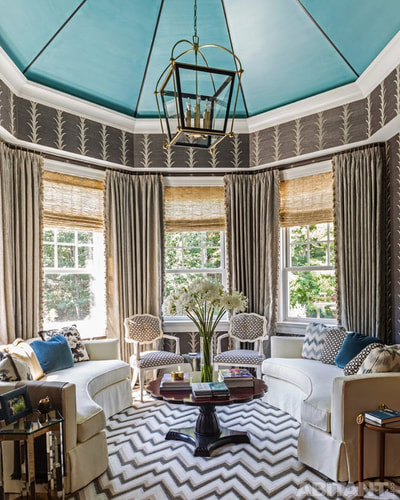
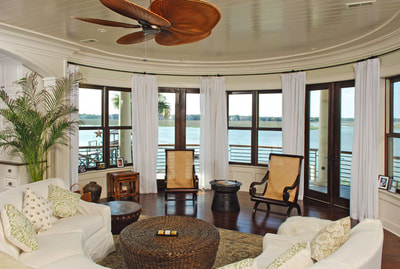
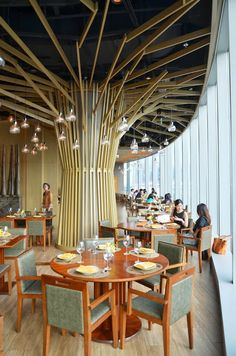
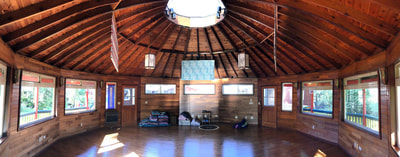
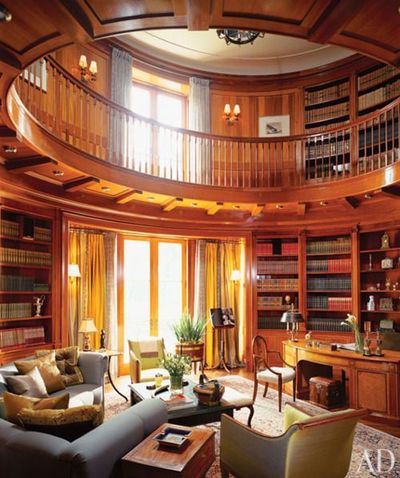
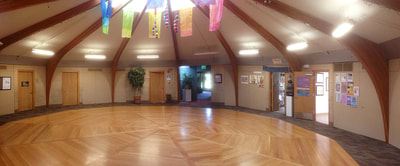
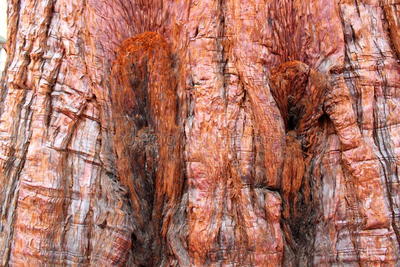
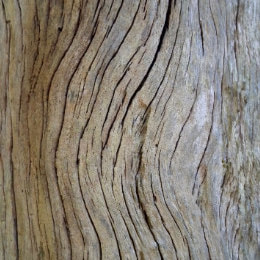
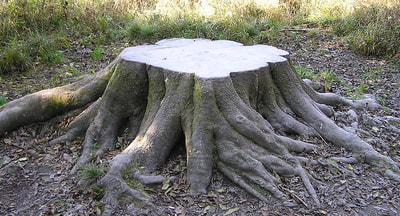
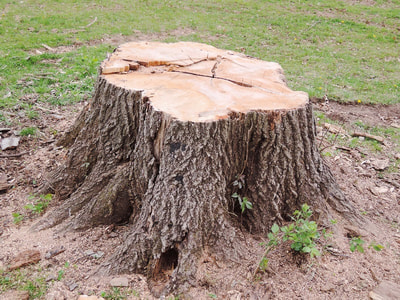
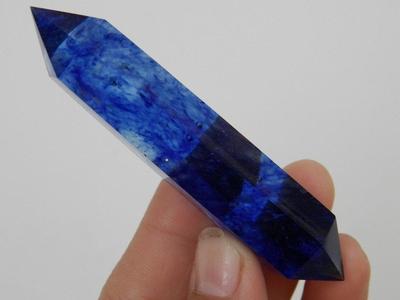
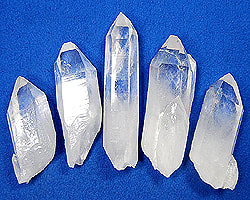
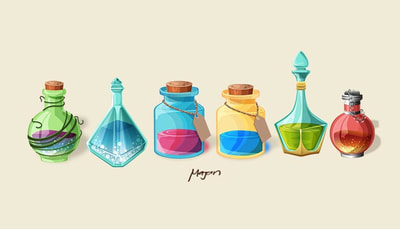
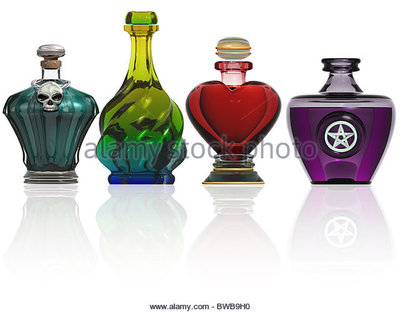
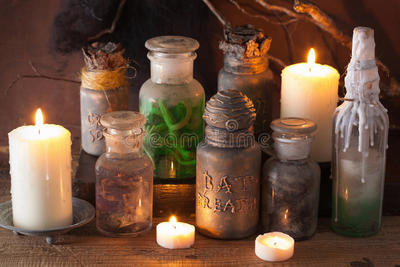
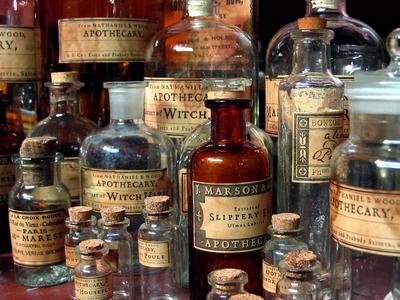
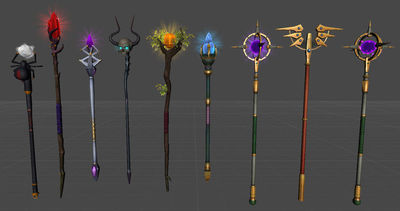
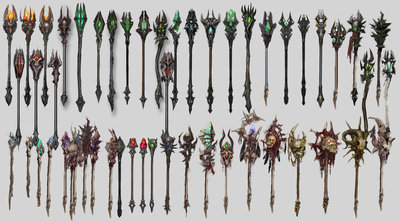
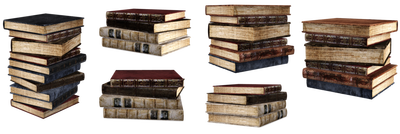
When sketching my initial interior thumbnails, I didn't put too much research into it - I sort of had an idea of a messy, mystical room inside of a tree. Of course, I knew I had to find reference images once I had to actually draw the interior. I first looked for various rounded rooms - as I was unlikely to find a house built from the inside of a giant tree, I settled for interiors with partial or fully encircled walls and windows. That gave me a pretty good idea of what a space like that would actually look like. I then looked up a few images of tree bark, as the inside of my interior has walls made up of chunks of tree growth. It also has a desk and a chair made up of tree stumps, with the desk still rooted into the floor. Lastly, I put together various pictures of miscellaneous bottles, potions, books, and staffs. A magical room is no good without some magical artifacts, so with my reference images, I had more than a few things to pull from to give some variety to the room. My section of reference images is almost more impressive than my finished sketch, but I was rather crunched for time, and wanted to put most of the effort into the final illustration.
In the end, I ended up doing something completely different for my final, as I wanted my character breaking out of the inside of the room/house. Even so, I still have such a nice collection of references and a solid sketch that I could always go back and do one of him inside the room if I so wished to.
Character Concept Art
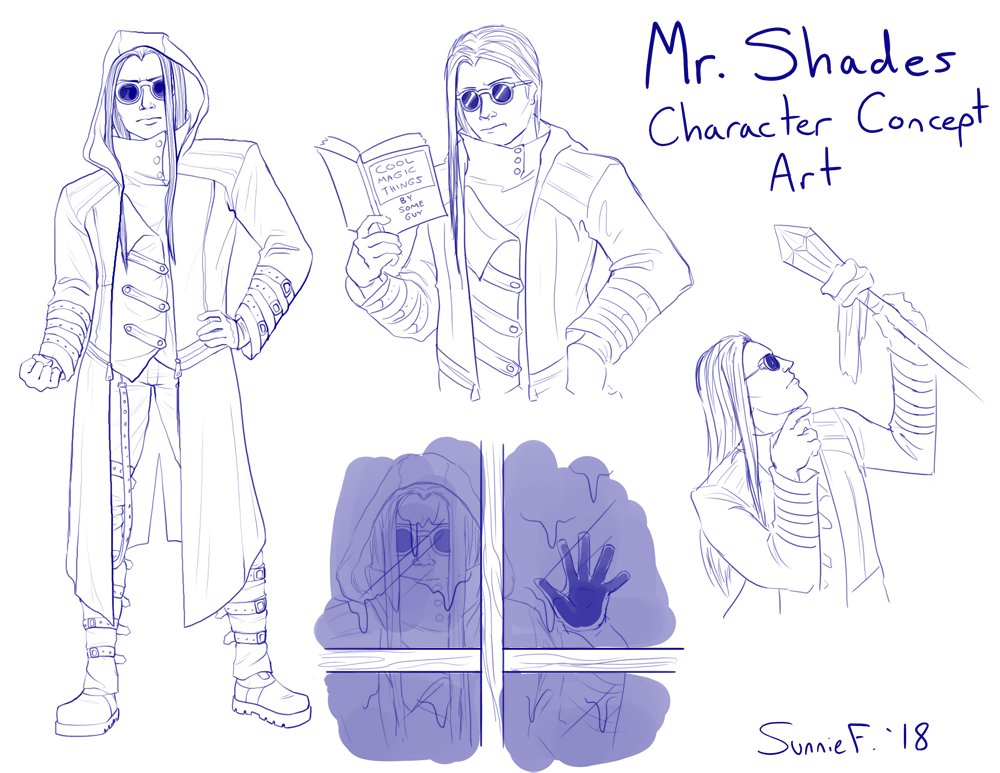
Concept artwork of Mr. Shades, in his sweet goth outfit. As I had yet to start the thumbnails of him in my environment, I included concept art of him interacting with objects that may be inside of it (a book, a staff, and a window).
Reference Images
Various reference images for either the shape of the rounded room inside the tree, the texture of the bark, or for things inside of the room. It's a bit overkill, but I wanted to be sure I had at least a few examples of anything that I might need to draw in the interior.
Interior Concept Art
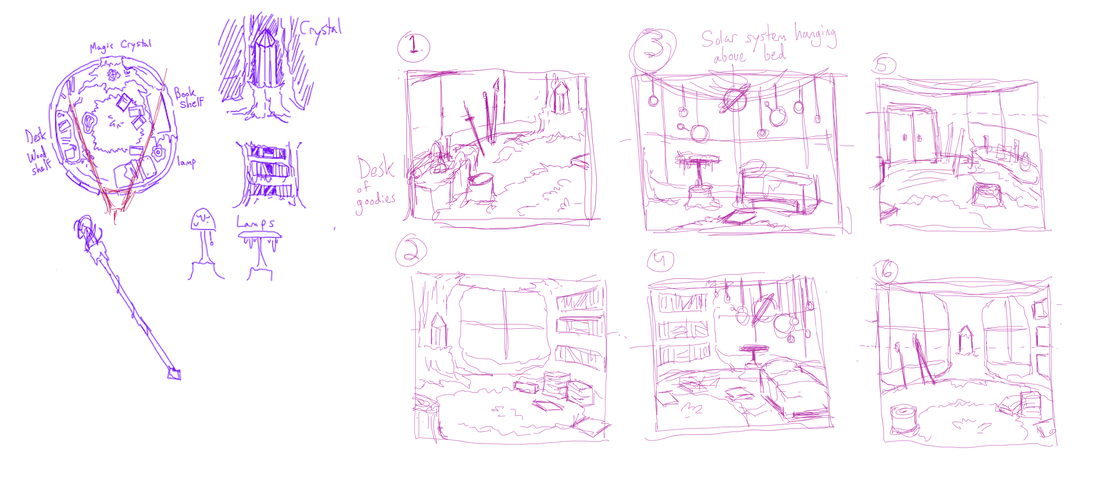
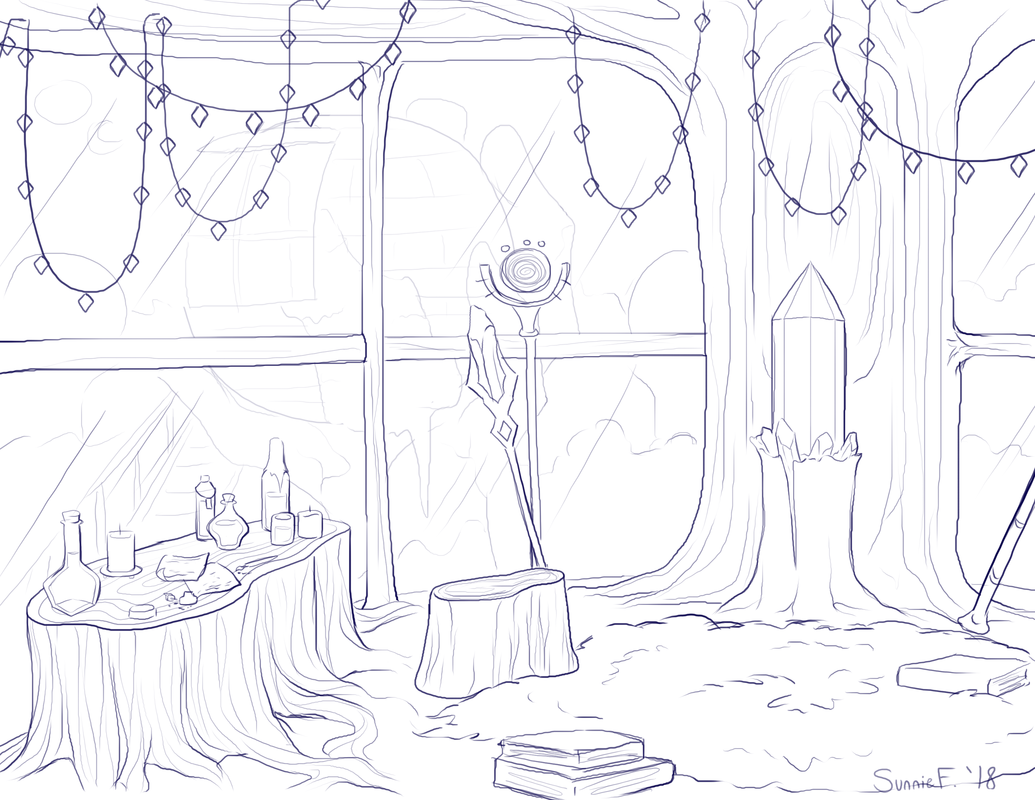
Concept art of a rounded, magical room. For my more polished drawing, I picked the angle where you can see the large magic crystal, the desk, and the window looking outside. I added fairy lights in the ceiling for a little more visual interest... and I think they're cute. This would be fun to paint with the other houses showing through the windows - maybe this will be a summer project...
Thumbnails and Rough Drawing
Ten thumbnail images of Mr. Shades interacting within the environment... except for the last thumbnail, which I decided to go with because I thought it was cool and would be fun to draw. Good thing I did all of that work for an environment that won't make it into my final illustration!!!
References of my exterior can still be seen on my Illustrated Storybook page.
References of my exterior can still be seen on my Illustrated Storybook page.
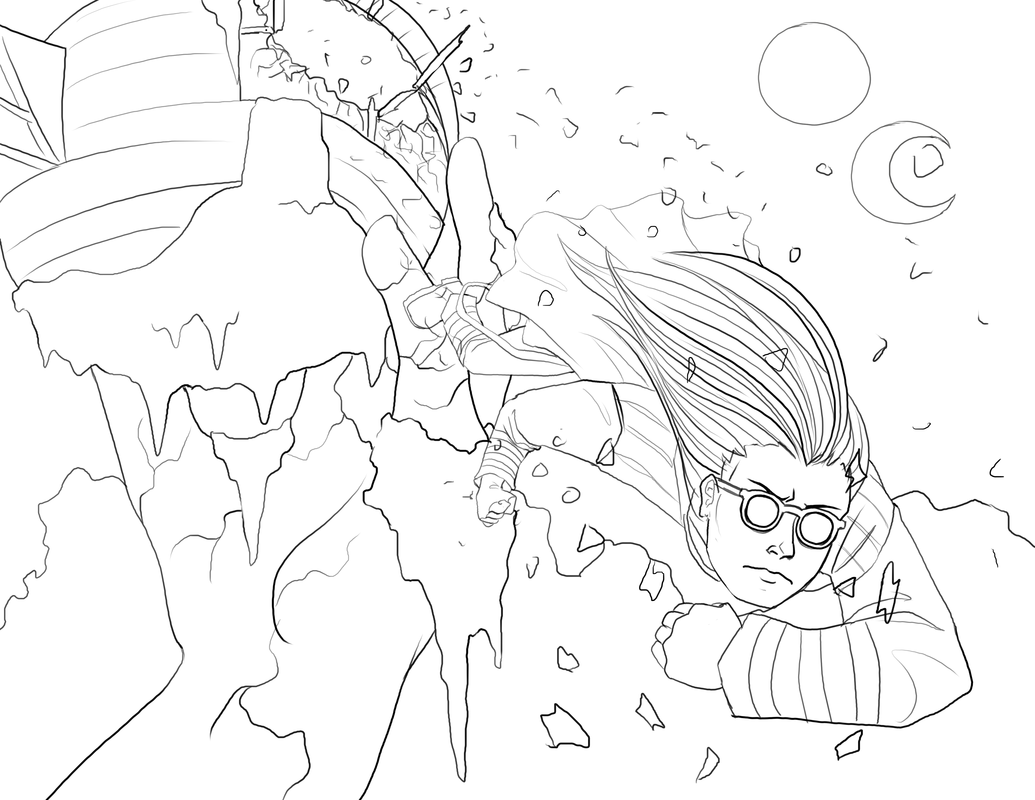
The rough drawing of my chosen thumbnail. I did the lines for the background and the lines for Mr. Shades on separate layers, as I planned to blur out the background later. They overlap each other, but I filled Mr. Shades in with white here for the sake of presenting my lines nicely.
Color Palette
|
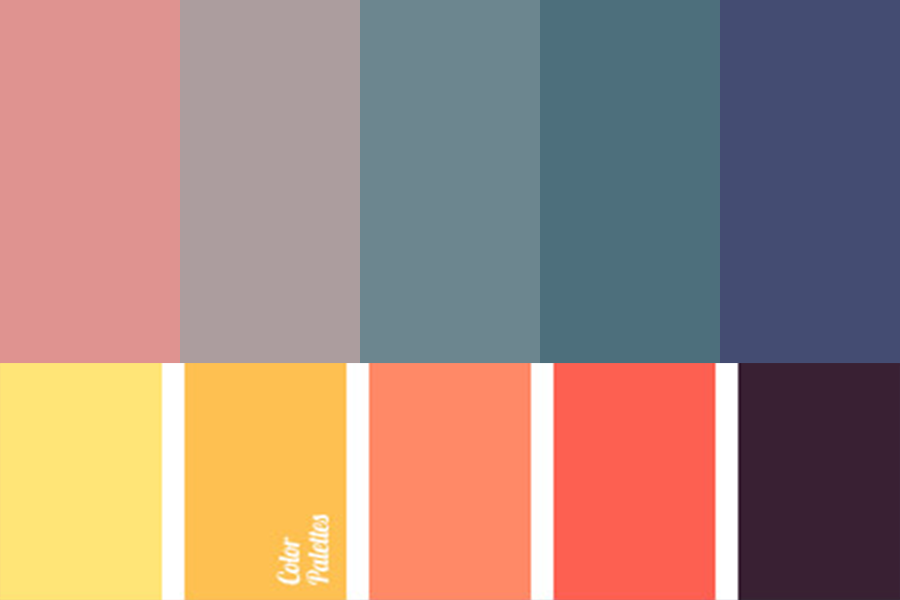
For the colors in my final piece, I went with two sunset-themed palettes and sort of smushed them together. Why a sunset? The original drawing of my outside environment was done during the nighttime, so I didn't really want to render the same thing again. I felt that a normal daytime color scheme would be a bit too boring. Thus, the compromise - a sunset. The oranges and pinks in a sunset are also very pretty, in my opinion.
|
Final Image
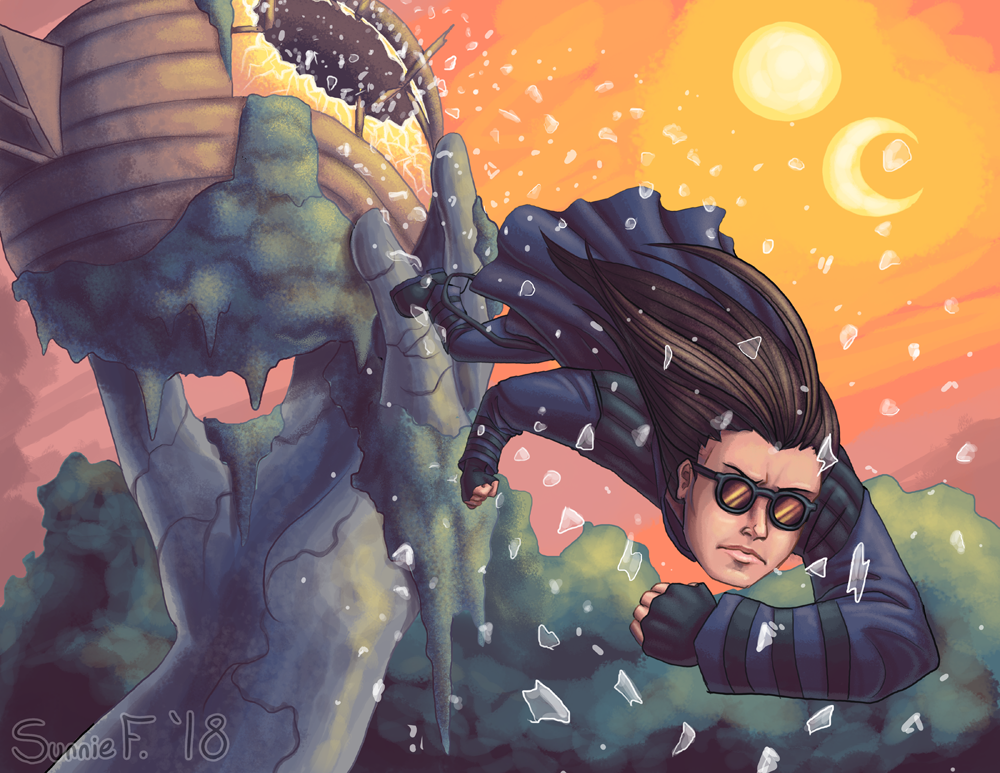
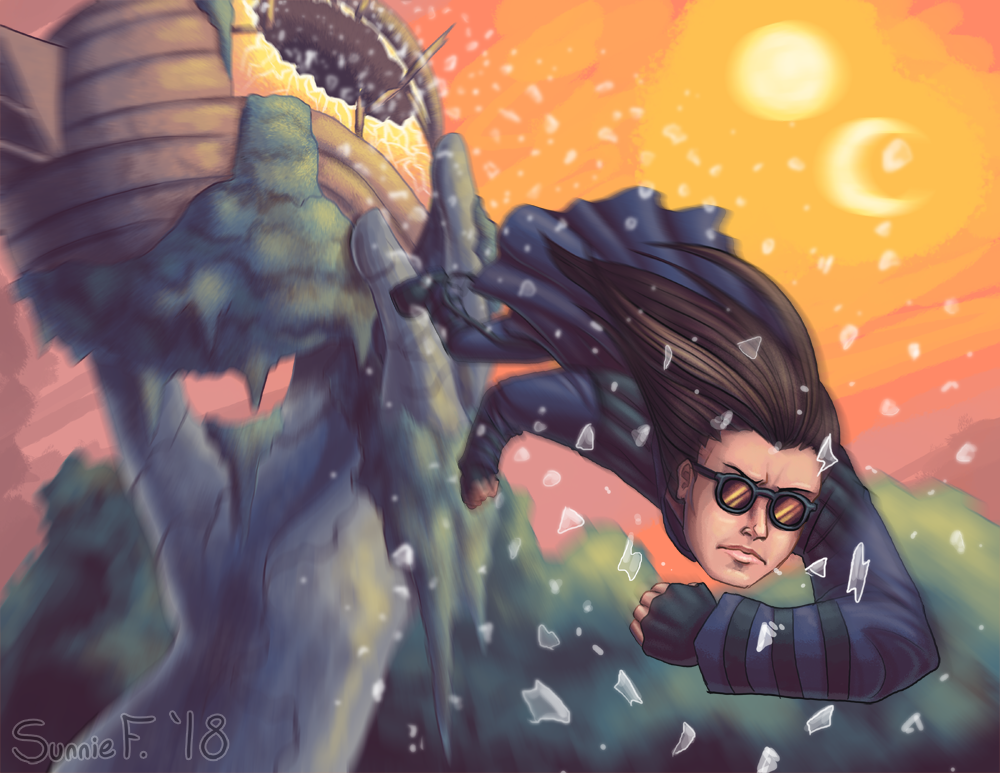
Here is the final illustration! I uploaded both versions - one without a blurring effect, and one with. Personally, I'm a fan of the blur, as it just makes it more interesting to look at; it really feels like the piece is moving. The one without the blur does show that I did put time into rendering the background as well.
And that's it! Hope you enjoyed it!
And that's it! Hope you enjoyed it!
