Sunnie Farrar Illustration
  • Home
  • 3D Portfolio
  • 2D Portfolio
    • Illustration
    • Character Drawings
  • Blog
  • About
  • Contact

Sawyer - Sculpting Process

4/24/2020

0 Comments

 
Howdy!  My website in dire need of an upgrade (when's the last time I even finished a full illustration?  No One Knows), but until then, I'll post the process of my latest piece in this handy-dandy blog feature.

For my personal portfolio, my goals for this piece were to:
-Make a stylized character
-Sculpt it in Zbrush
-Bake and paint textures
-Do a simple rig
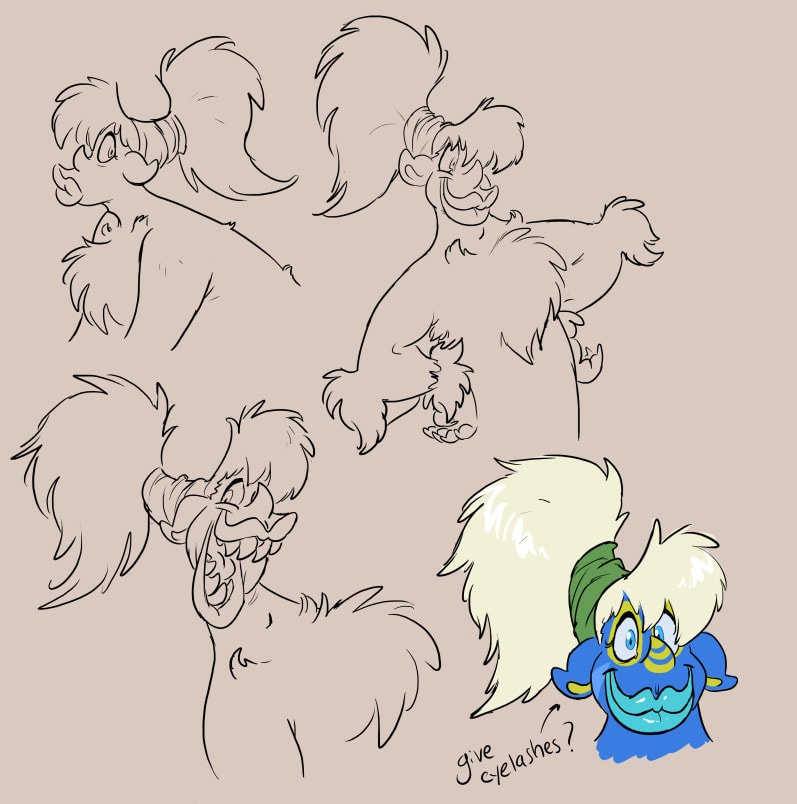
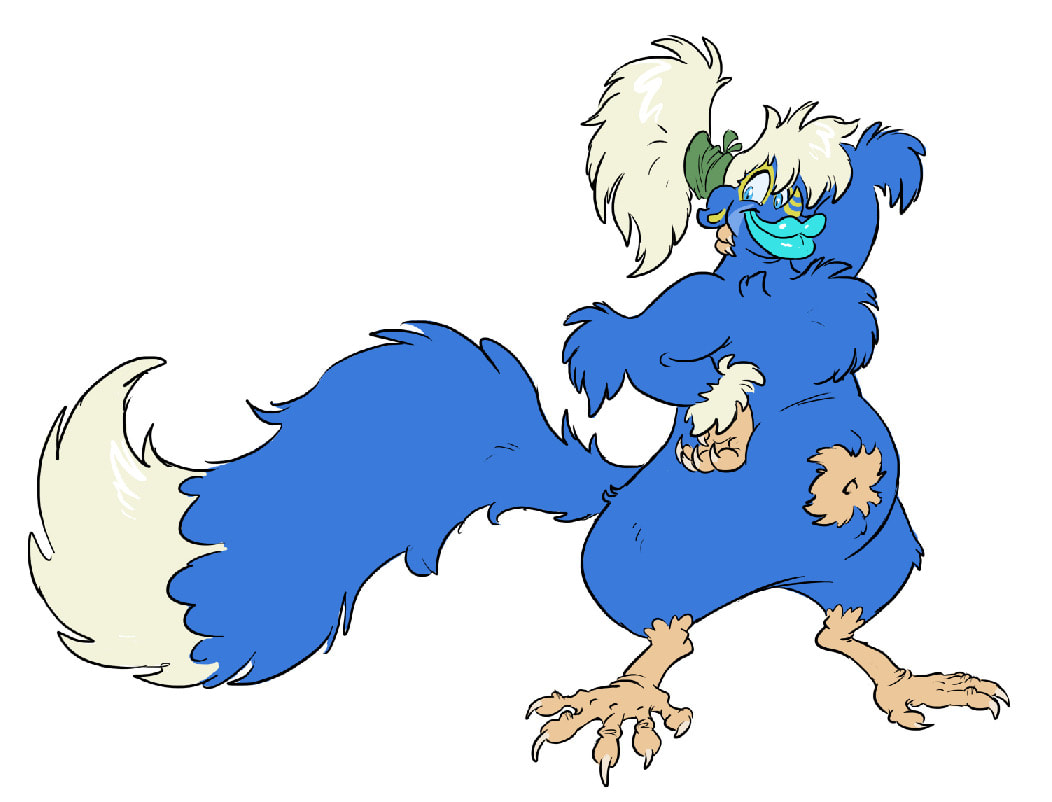
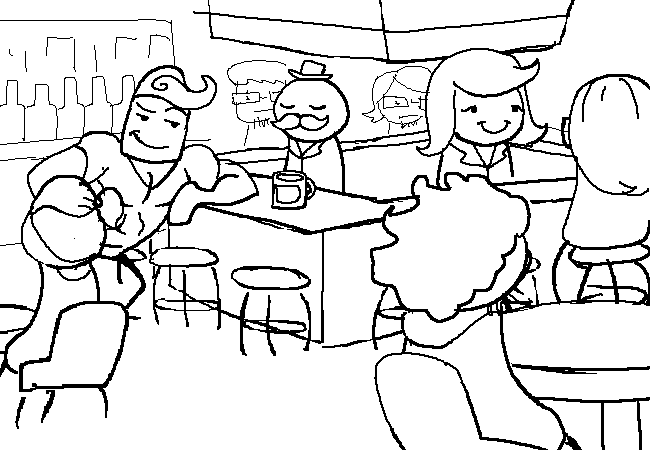
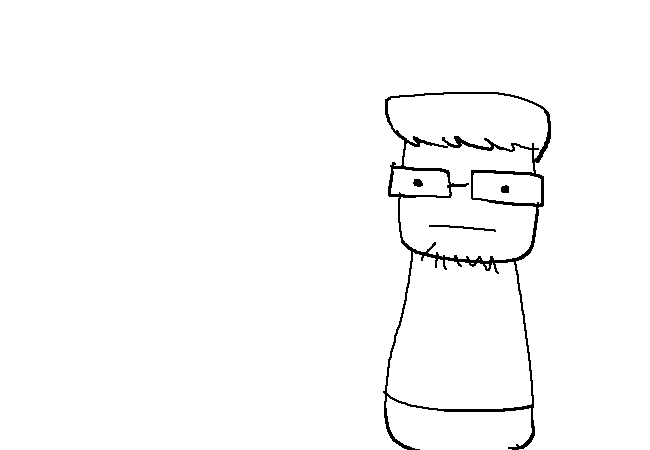
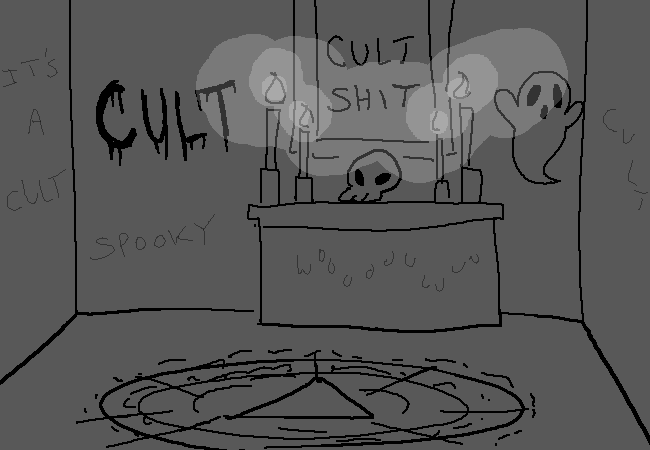
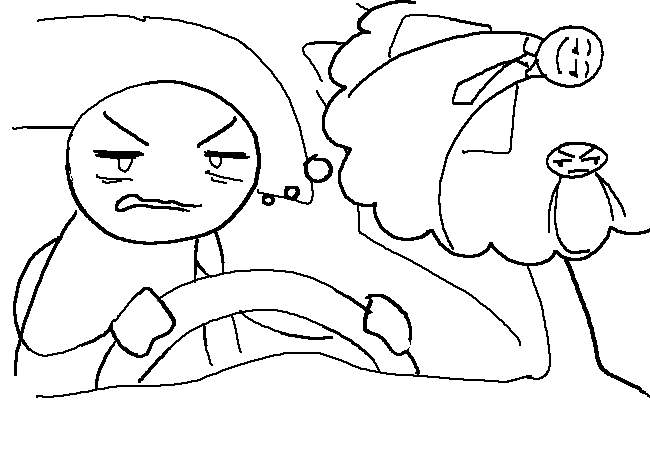
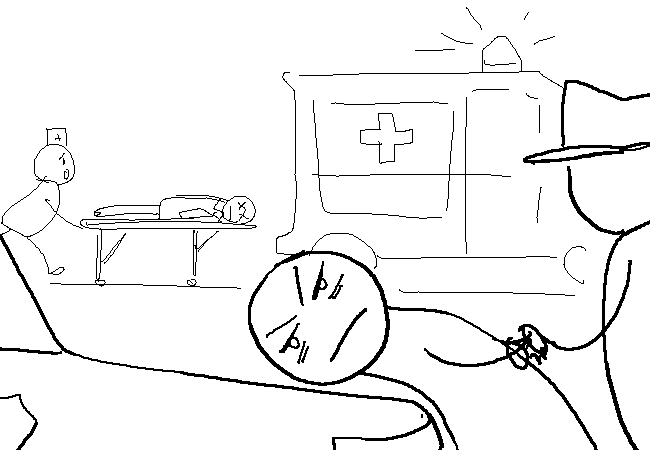
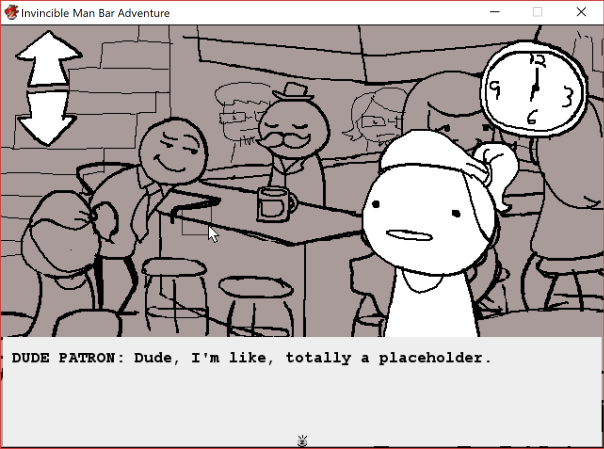
I almost immediately thought of my friend Tim and his characters, and thought it would be fun to model one of them (plus, doing fanart of your friends' stuff is cool).  I picked his character Sawyer, from his webcomic Gashire, which you can read on Webtoon (HERE) and/or Tumblr (HERE).

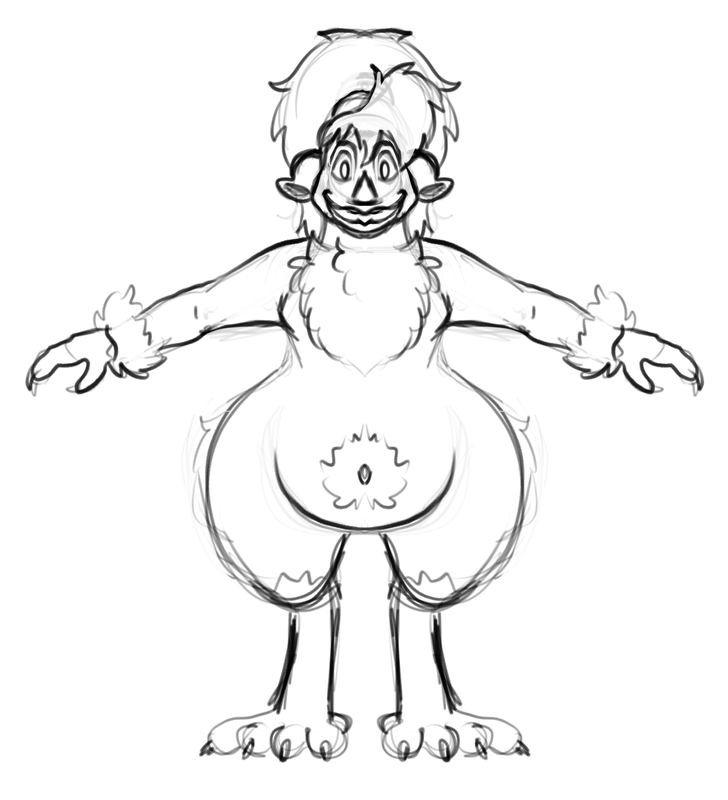
​Here are the references that he sent me, drawn by him:
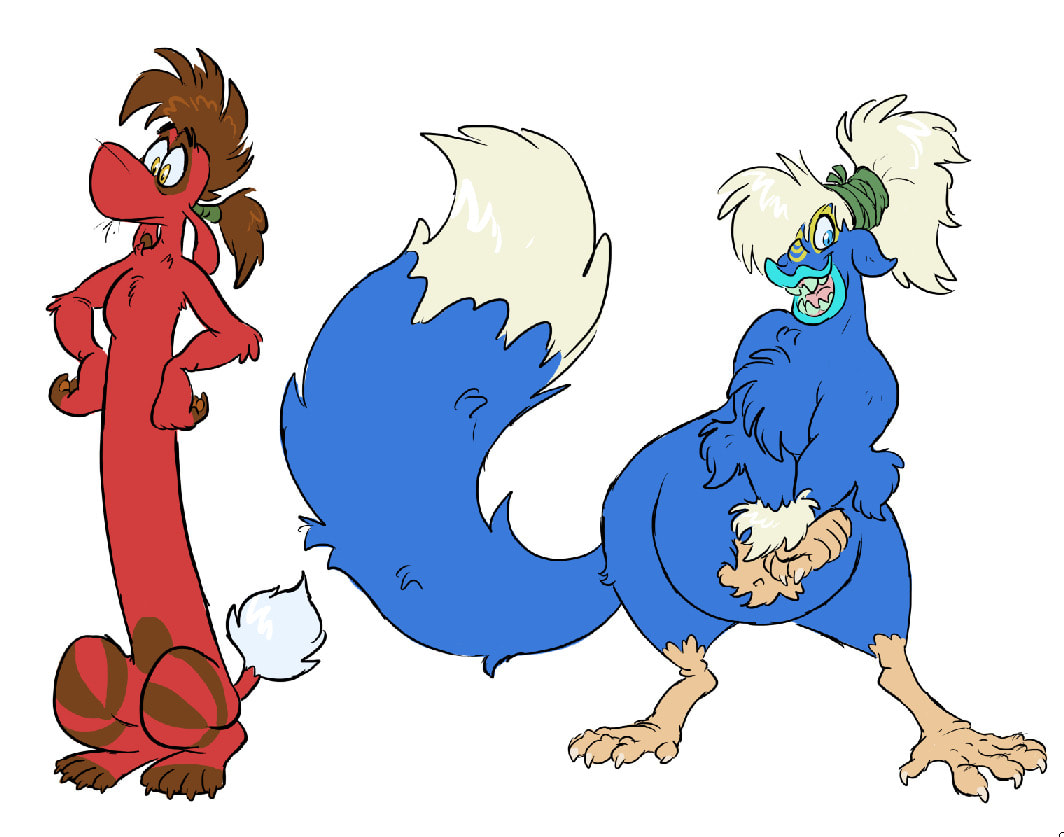
(I'd love to model Marty there too!)
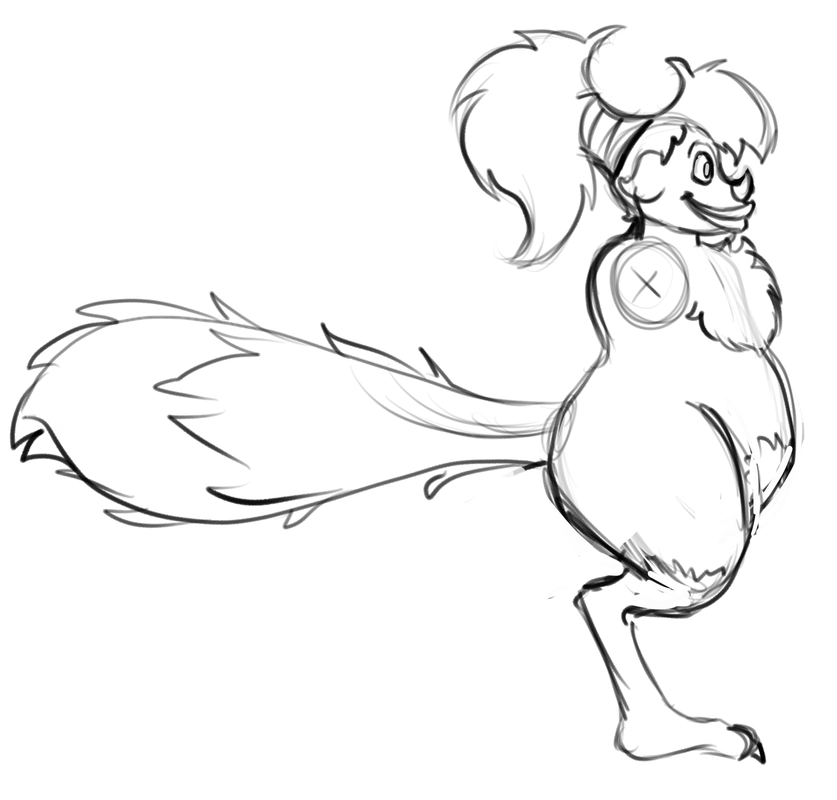
I then sketched out a turnaround that I could slap into Zbrush to put in a reference grid.  Up until now I've always started off my models by block-modeling in Maya, but this guy is FULL of organic shapes, so I thought that would be a bad idea (plus, my professor recommended starting in Zbrush anyway).

Here are my turnaround images:
I added these to the grid in Zbrush, made myself a sphere, and just went at it with the move tool.  He looked pretty funny initially:
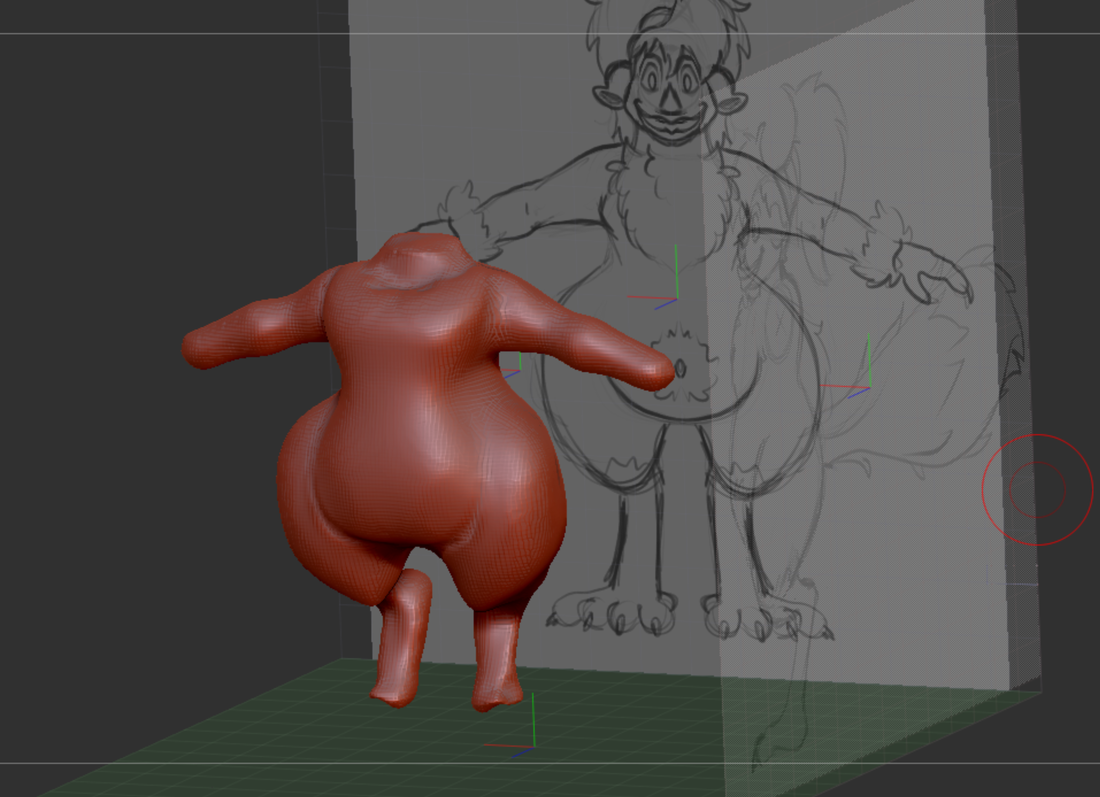
(I don't know where that meme came from, but I think about it a lot.)
As I went on and added more stuff, he began to take form:
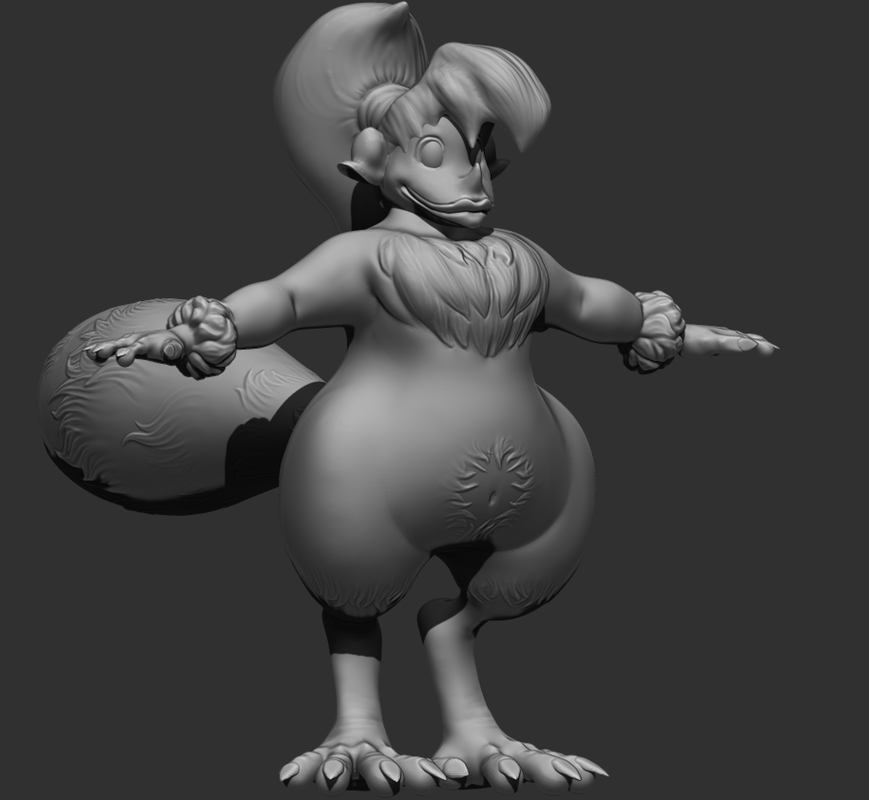
(One day, I will remember to take more screenshots during my process, instead of just when it starts to look like something and then I wanna show my friends in the group chat.)
I'd like to personally thank the fur alphas by J Roscinas, which I got from his alpha pack on Gumroad (HERE).  

It was around when I finished the high-poly sculpt that I realized Sawyer here has less-than-ideal topography.  I found a tutorial by Danny Mac 3D on how to retopologize with polygroups (HERE), and it worked pretty well!  Sadly I couldn't get it to work with the legs, so his topology there is still kinda bad.  Next time, I'll do this step before I add on all the details.  It's still a learning experience!

​I did get this fun screenshot of Sawyer's head looking like a creepy clown, though:
Picture
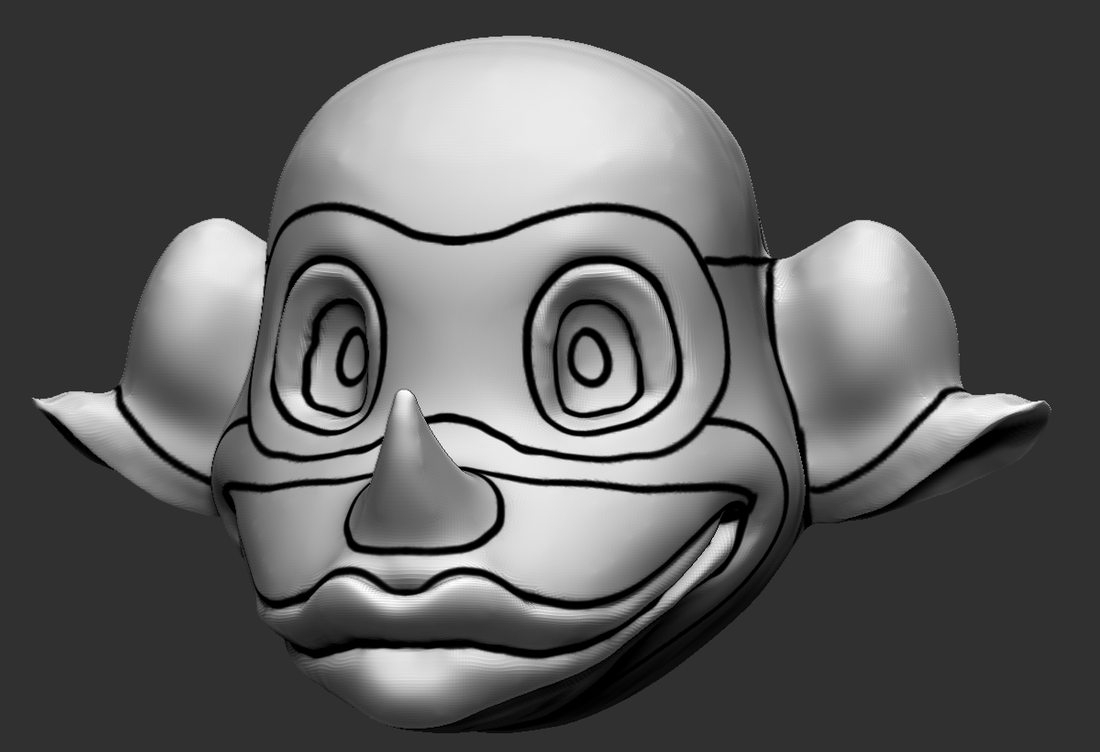
(Ninja Turtle mask?)
I unwrapped his low-poly model - one material for the head and one for the body - and then went on into Substance to texture him.  I started by blocking out all of the colors:
(He's made out of jelly!)
I hadn't made anything with subsurface scattering before, but adding it in Substance was easy-peasy with a quick Google search (I really gotta give special thanks to Google).  His skin and the scar have some subsurface applied.
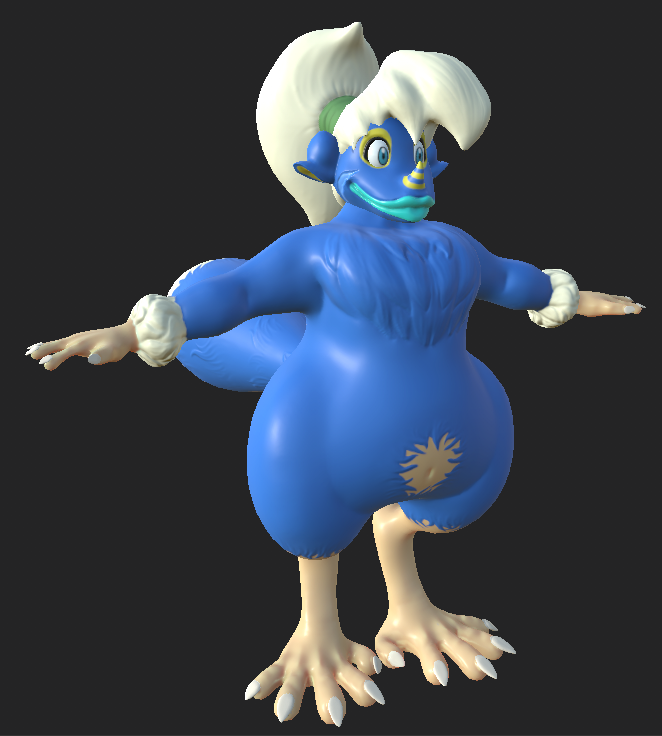
He's pretty cartoony, so I didn't feel the need to do realistic texture - just some more shadows and highlights and I called it done:
Picture
Picture
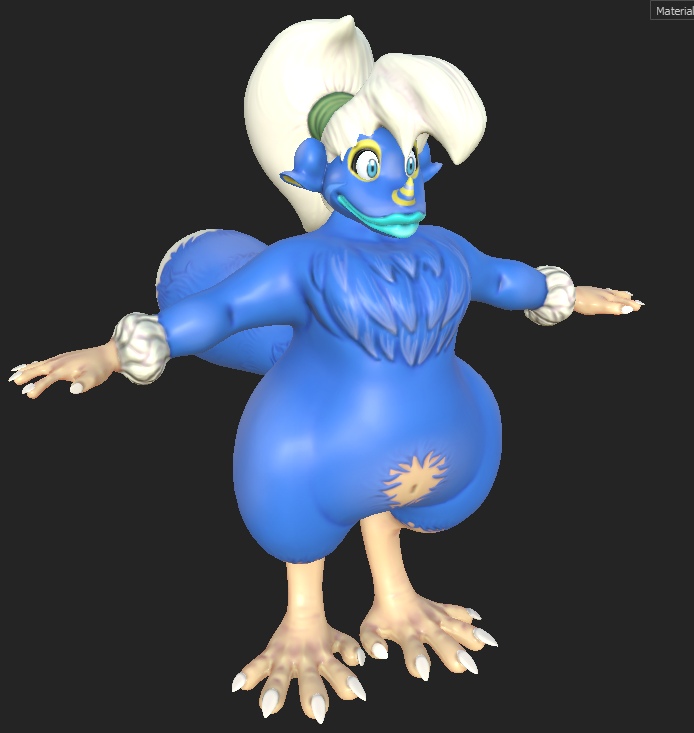
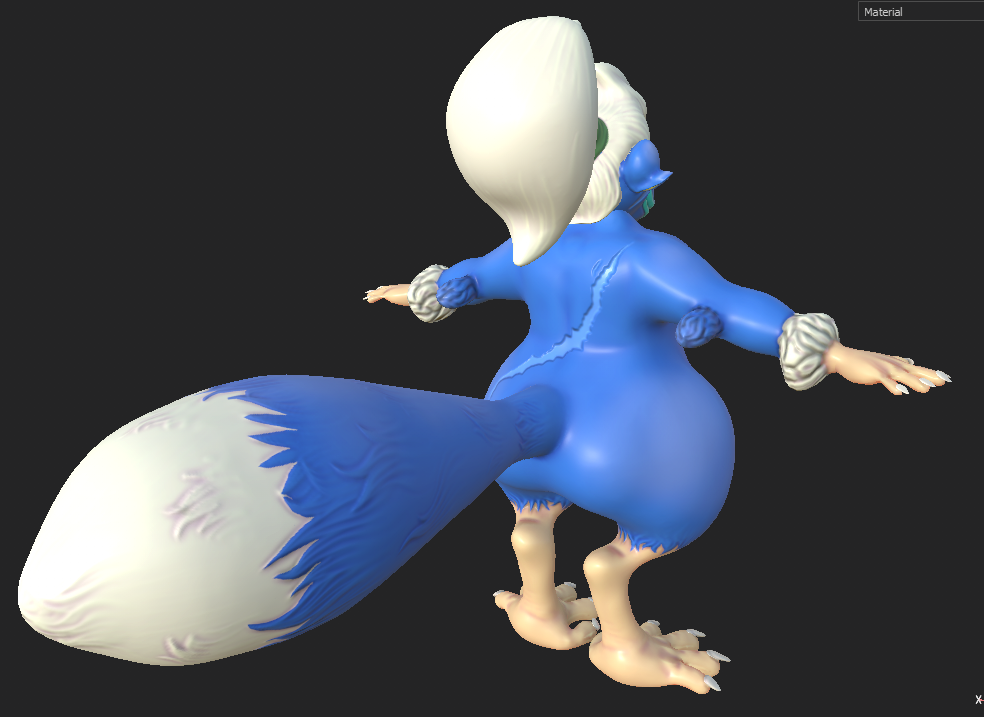
All in all, I'm really happy with how he came out!  I would love to sculpt him again and make it so that he has, well, eyelids and a mouth that can open, as well as fur detail that is more 3D instead of fake 3D.  He kinda looks like he'd be in the pre-rendered cutscene of a PS1 game as he is.  That said, he still looks like the character, so that's pretty cool.

I still want to rig him, though...!   Give me a minute!!
0 Comments

Website Update

1/24/2018

2 Comments

 
Hi again!  If anyone checks my lovely website, you may have noticed a "Class Illustrations" page added to my website.  This is due to my class, 2D Art for Games, requiring a nice little page for our classwork!  Eventually I'll likely erase it and add any quality work to the main part of my portfolio, or I may keep it to show off my sketching/problem solving sorts of things.

As for the game I was working on in my last post, we did not actually finish it to be a fully functioning game (sorry to anyone who may have been looking forward to it).  However, we did get a solid A on it, so all was well.  Hopefully in the not-so-distant future, I'll be able to truly show off some finished games!  Will my website still be titled Sunnie Farrar Illustration afterwards?  Who knows, but until then, continue following and supporting my art.

2 Comments

Intro to Game Development Progress

10/22/2017

0 Comments

 
Hello!
Welcome to my first blog post.  As you may have noticed, my website has been a bit stagnant lately.  This is because I am back in college, pursuing a degree in Game Art at Columbia College Chicago!  I'll always love illustration and drawing in general, but video games have always been a huge inspiration for me, so I want to be a part of something that inspires others as well.

The downside to this is that I'm starting basically back at the beginning.  The upside is that it's still a pretty fast-paced beginning!  In one of my first "fundamentals" classes, Intro to Game Development, we're already working on a game while in groups.  This post details my process so far in said class and group - this also may or may not be for a grade.

My group was assembled pretty much because the three of us sat near each other and vaguely talked to each other during class.  We decided to go with my classmate's game concept: You're in a bar and overhear a man talking about how he's invincible, and you then decide it's your goal to kill him before the bar closes that night.  It'll be a point-and-click adventure game in a very simple style inspired by Problem Sleuth.

We wanted to get a prototype up and running the next week, so after procrastinating a bit, we got to work.  One group member, Devin, is in charge of programming (using RPG Maker VX Ace as the engine) and also the "director" so to speak, as he came up with the game concept.  The other group member, Nat, was supposed to be our creative writer.... however, they vanished from class for several weeks due to personal issues.  No hard feelings, but it did change up our planned work process.  I am the designated artist of the group, responsible for all visual elements.  Talk about a tall order!

Luckily, the style means that I don't have to spend a very long time at all on each individual element.  In fact, most of these I prepared during the hour I had before work on the Saturday before the concept work was due.  Here are some backgrounds and character portraits I made, all drawn in Photoshop:
As you can see, they are rough... very, very rough.  Problem Sleuth is also done in quite a rough way, but I still feel it's a bit more polished than my placeholders - there's more of an element of planning in Andrew Hussie's fast drawings, I feel.  Devin insists it looks fine, but I know I'm capable of more, even in a sketchy style.  Thus, these are placeholders for now.

It was also suggested that the invincible man not be so stereotypically macho and buff, which I thought was a good idea.  I changed him to look more normal, as well as added a few UI elements, such as a clock and arrows to move to different areas.
It was a bit stressful to do it all in a week, but we got it done, which meant pretty much all placeholder work was done.  To improve upon it the next week, we were asked to add in the time element and make the clock stand out a bit.  This is where I improved upon my clock scribble - I kept it very simple, but in my opinion it's much more refined and fits in better.
I was also asked by Devin to add in a temporary cult room, as well as portraits for the cult leader.
The next week we were meant to add in some writing, but outside circumstances prevented us from doing much - especially since our creative writer was still missing in action.  Not all was lost, as I drew some temporary ending screens: one for a good ending, one for a bad ending, and one for a neutral ending.
This is where we're at with our game right now - our class is focusing on the midterm quiz coming up (tomorrow, actually!) instead of continuing with the game for this week.
I definitely want to see it through to fruition, as I think it's a fun little idea that makes for a great first game project.  I think I can improve upon all of the art by the time the final game project is due, and may even add some selective coloring that my professor also suggested at one point.  Now that our creative writer is back in class and in our group (hopefully!), we should be able to get the plot and dialogue written out a lot faster than what we were doing.  Here's a couple of samples of how it looks altogether in the engine:
Pretty cool!  If all goes well, I'll be sure to make another post with a link to the finished game (if we upload it anywhere, haha).  Look out for that!
0 Comments

    Sunnie

    My website blog!  Hopefully this will chronicle some sort of artistic journey of mine.

    Archives

    April 2020
    January 2018
    October 2017

    Categories

    All

    RSS Feed

Powered by Create your own unique website with customizable templates.